|
There is no game programming in this book.
It is a text on teaching programming languages using Scratch.
Scratch is relatively easy to program, as you can imagine, because you fit in blocks that can be programmed as scripts. The fact that it is basically free is wonderful. MATLAB Simulink is a similar block fitting program, but this one is much more difficult.
Languages in recent popular use include Python, a language that has become popular in recent years. JavaScript is another commonly used language. VisualBasic, VBA and C# are also relatively easy languages to use.
When programming in elementary schools, it is still expected that many of them will use Scratch.
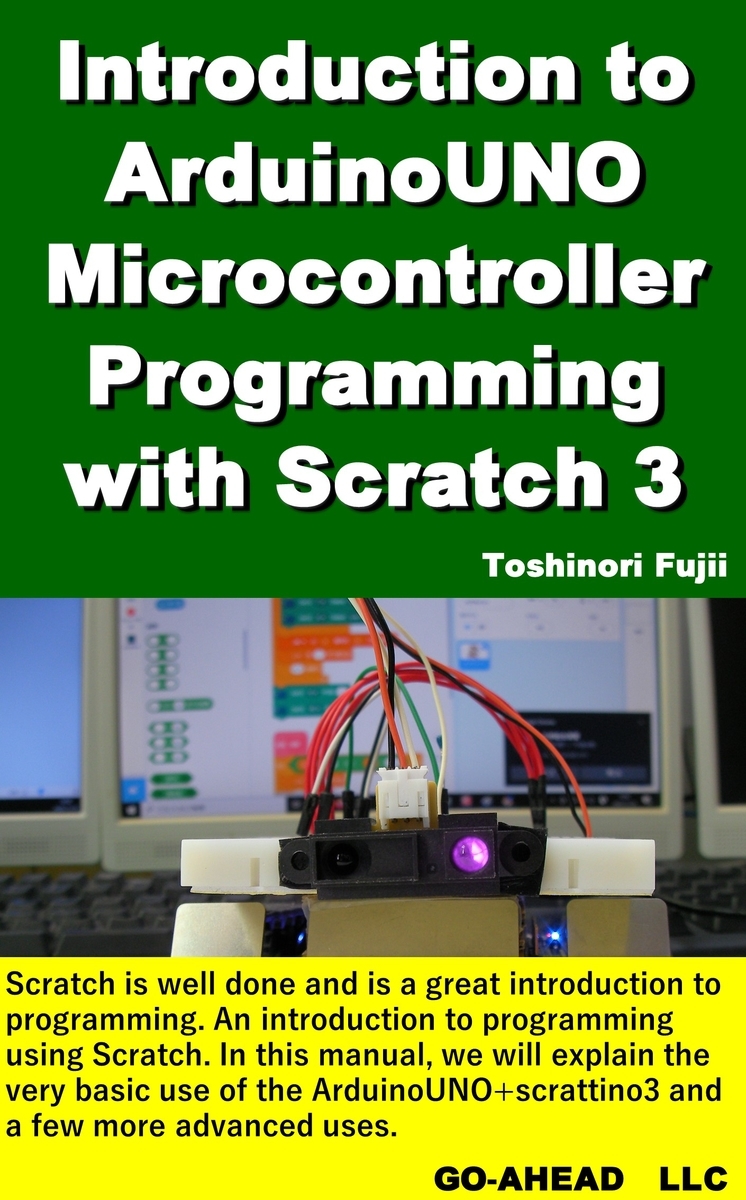
Scratch is well done and is a great introduction to programming. An introduction to programming using Scratch. In this manual, we will explain the very basic use of the ArduinoUNO+scrattino3 and a few more advanced uses. We aim to educate students to become information processing engineers in the future through the use of Scratch and Arduino microcontrollers for language education, as well as games for use in the classroom.
CONTENTS
Introduction
1. How to use Scratch
1.1 Scratch Installation
1.2 Scratch operation screen
(1) Stage
(2) Sprite
(3) Block palette (code)
(4) Code area (where the blocks to be programmed are placed)
1.3 Display of "Hello World"
1.4 Installation of scrattino3
1.5 Installing Arduino IDE 2.0
1.6 Check COM port
1.7 LED lights on micro controller board
(1) Writing StandardFirmata
(2) Scrattino3 Configuration
(3) LED on the micro controller board light up
2.Arduino UNO
2.1 Arduino UNO
2.2 Electrical elements for experiments
(1) LED
(2) Resistance (1/4W)
(3) Breadboard
(4) Jumper wire
(5) Servo Motor
(6) Potentiometer
(7) CDS cell
(8) Full Color LED
3. Experiments with Arduino
3.1 LED lighting experiment
(1) Light the LEDs-1
(2) Light the LEDs-2
(3) Light the LEDs-3
(4) Light the LEDs-4
(5) Light the LEDs-5
(6) Light the LEDs-6
(7) Light the LEDs-7
(8) Full Color LED
3.2 Experiments with switches
(1) LED lights up when switch is pressed
(2) LED lights up when switch is pressed-2
(3) LED lights up when switch is pressed-3
(4) LED lights up when switch is pressed-4
3.3 Servo Motor Experiments
(1) Using servo motors-1
(2) Using servo motors-2
(3) Using servo motors-3
3.4 Experiments with analog input
(1) Voltage measurement of Potentiometers
(volume)
(2) Potentiometers (volume)-2
(3) Potentiometers (volume)-3
(4) CDS cell
(5) Distance sensor (infrared)
(6) Gyro sensor (angular rate sensor)
4. Mobile Robot Experiment
4.1 P-controlled experiments
4.2 Experiments with PI control
5.References
|
