|
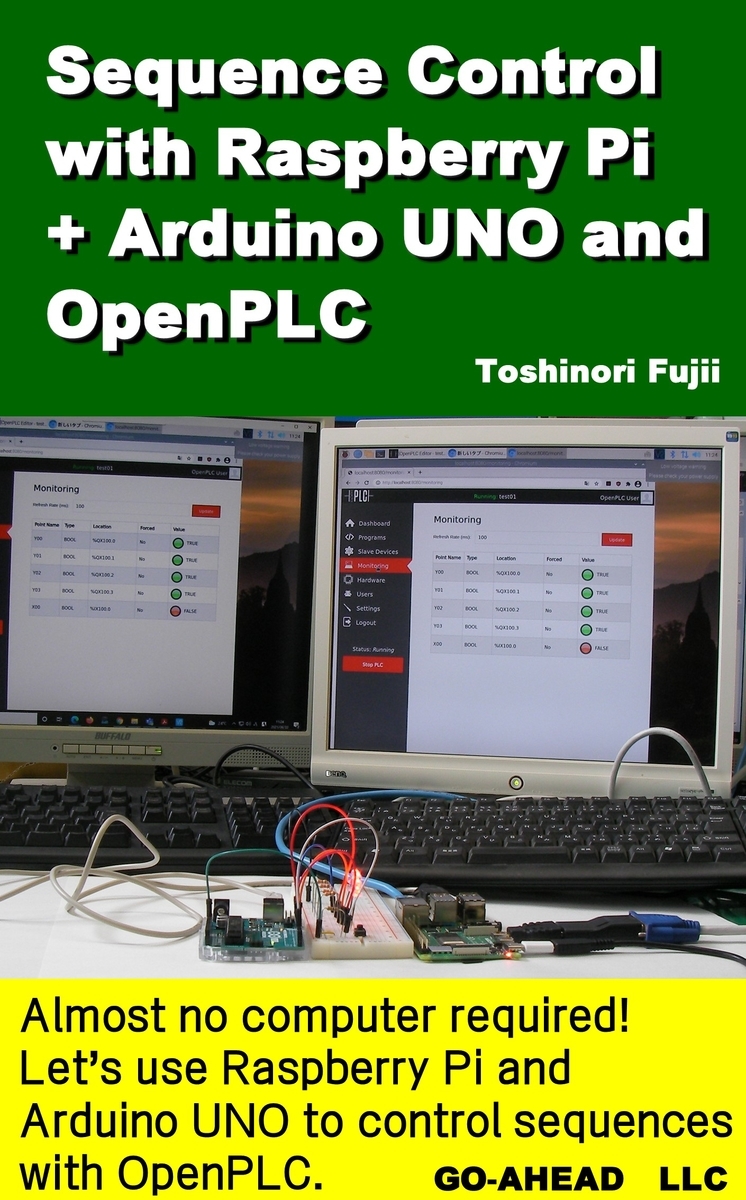
Sequence Control with Raspberry Pi + Arduino UNO and OpenPLC Amazon Kindle版 |
More and more students are using smartphones rather than computers, and the number of students who can use smartphones but cannot use computers is increasing. Also, if a student does not have a computer during a remote class, they will not be able to do remote exercises through the computer. Therefore, we will consider using Raspberry Pi to teach the class. When I was using the Raspberry Pi 3, I thought the browser and other functions were a bit slow, but now with the Raspberry Pi 4, I can use it normally. However, the CPU gets quite hot, so heat dissipation is required. To prevent students from being densely packed when conducting experiments, set up the system so that the remote screen can be controlled by VNC, assuming that the experiments are conducted in different rooms on the same LAN. VNC (Virtual Network Computing) is the ability to call up the screen of another computer to your own computer and control it from your own computer. This is different from a VPN (Virtual Private Network).This will allow us to direct the experiment in progress and instructions to a remote room in the school. The Raspberry Pi 4 and Arduino are excellent devices for learning IoT and can be used to teach remotely. By using OpenPLC for this, learning sequence control can be done without a PC. Let's learn the basics of controlling sequences with Raspberry Pi 4+Arduino+OpenPLC. This book focuses on the usage of OpenPLC. It also explains how to make and control an elevator experimental device, which is an applied experimental device for sequencing, using cardboard in consideration of the SDGs. We hope you will use this book to learn the basics of sequence control.
Contents 1.Introduction ・・・・・5 2.Raspberry Pi ・・・・・7
3.Basic sequence circuits ・・・・・67 4. Devices used in the experiment ・・・・・83 5. Sequence Control with OpenPLC ・・・・・88
7 VNC ・・・・・147 Appendix (Elevator experimental apparatus design drawing) ・・・・・160 References ・・・・・162
|
